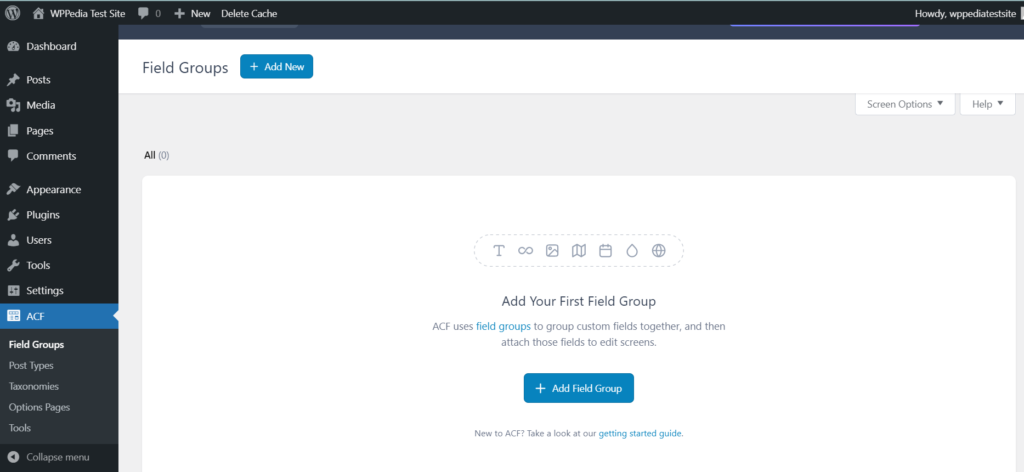
Custom fields in WordPress are a powerful tool for content customization, allowing you to add unique, additional information to your posts and pages.
They enable you to enhance standard content with details like an author’s mood, the music they listened to, or the weather, creating a more immersive and personalized experience.
1. Implementation
To begin, install and activate the ACF plugin. Then, navigate to the ‘Custom Fields’ section in your WordPress dashboard. Here’s a simplified process:
Create a New Field Group: Think of a field group as a container for the custom fields you want to add.

Add Custom Fields: Within the field group, you can add various types of fields such as text, images, and checkboxes.

Configure Field Settings: Each field has settings that can be adjusted, such as default values and layout preferences.

Assign to Content Types: Decide where your field group will appear, be it posts, pages, or custom post types.
2. Features
Comparing the free and Pro versions of ACF is like comparing a basic toolkit to a professional toolset; both are useful, but the pro offers more depth and flexibility.
ACF Free Version
The free version of ACF is a powerhouse in itself, offering over 30 field types including text, number, email, and more. It’s ideal for basic websites that require additional but straightforward metadata.
ACF Pro Features
ACF Pro, on the other hand, introduces advanced features:
- Repeater Fields: Create a set of subfields which can be repeated. Ideal for content that follows a pattern, like event schedules.
- ACF Blocks: Develop custom block types for the Gutenberg Editor, adding more customization to your content layout.
- Flexible Content Field: Provides layout and subfield options, akin to a lightweight page builder.
- Gallery Field: Build custom image galleries with ease.
- Clone Field: Reuse existing fields, streamlining the field management process.
3. Displaying ACF Data
Once you’ve added custom fields using ACF, the next step is to display this data on your website. There are a few methods to do this:
Using Template Files
The most common way is by editing your theme’s template files. This method requires some PHP knowledge. For instance, to display a custom field, you can use:
<?php the_field('your_field_name'); ?>This code snippet will display the value of ‘your_field_name’ on your website.
Using Shortcodes
ACF also provides a shortcode to display field data, which is ideal for those who prefer not to edit code files. The shortcode format is:
[acf field="your_field_name"]Integrating with Elementor Pro
For those using Elementor Pro, ACF fields can be dynamically displayed using the Elementor interface, offering a more visual approach to content design.
4. Conclusion
Whether you use the free version for basic enhancements or the Pro version for advanced features, ACF stands as a vital tool in the arsenal of WordPress developers and content creators.
Best Practices for Optimal Use
- Keep It Organized: Use clear and descriptive names for your fields.
- Plan Ahead: Before adding fields, outline the structure and purpose of your content.
- Test Thoroughly: Always test your fields and their display on the front end.

